
DVD Flick Guide
This short guide describes how to do a few common tasks in DVD Flick. The last update to this guide was based on version 1.3.0.0 of DVD Flick.
Creating a simple DVD
Step 1: Add your titles
Click the Add title button and select one or more of the video files that you want to add.
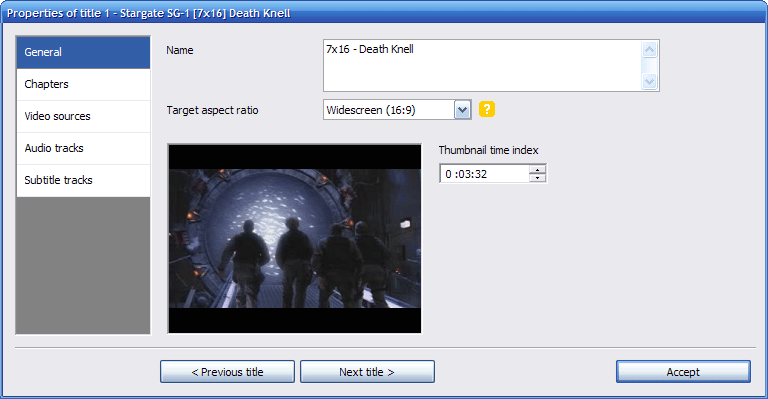
Step 2: Edit your titles
You can edit each title by double-clicking it or by clicking on it once and pressing the Edit title button. Here you can set the number of chapters the title will have, either by entering a number or a time interval. You can also add subtitle files, different audio tracks and add another video source to the title.
Step 3: Configure your project
Click the Project settings button on the top to open the project's settings.
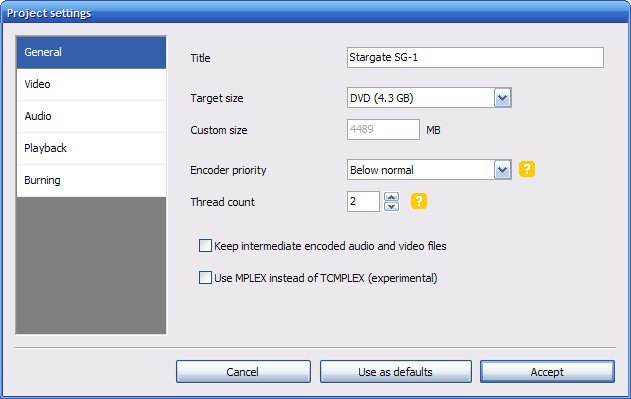
The only thing you really need to set here is the Target size under the General tab, and the Target format, and Encoding profile under the Video tab.
For Target Size, choose the size of the disc you will be burning your project onto. Usually the default setting of DVD-5 (4.3 Gb) will be fine, but if you wanted to use a dual layer disc or any other common format, you can select that as well.
For Target Format, you must choose which format is used on the standalone DVD Player you will be watching the DVD on. For most Europe, Asian, African and Oceanic countries this should be set to PAL, for most American countries to NTSC. Some DVD Players support both formats, in which case you should select the Mixed format. When using the Mixed format each separate title will be determined to be either PAL or NTSC, and encoded as such.
For Encoding Profile, you must make a trade-off between the time it will take to encode the DVD, or the quality thereof. Generally Fast offers reasonable image quality, the difference between Normal and Best is almost unnoticeable. Though if you are going to make a DVD that is near or over 3 hours in length, it is not recommended to choose Fast but Normal or Best instead or the image quality will suffer.
Step 4: Choose a destination folder
At the bottom of the screen you can choose where DVD Flick will put the encoded DVD files, as well as log files of the encoding process. It is important to put this folder on a fast harddrive, which has enough free space available. How much free space is needed is indicated on the lower right of DVD Flick's main window. Do not set this to your DVD drive's path, DVD Flick will first need to store the encoded data on a harddrive before it can burn it to a disc.
Step 5: Burning
DVD Flick can burn your encoded project straight to disc if it is completed successfully.
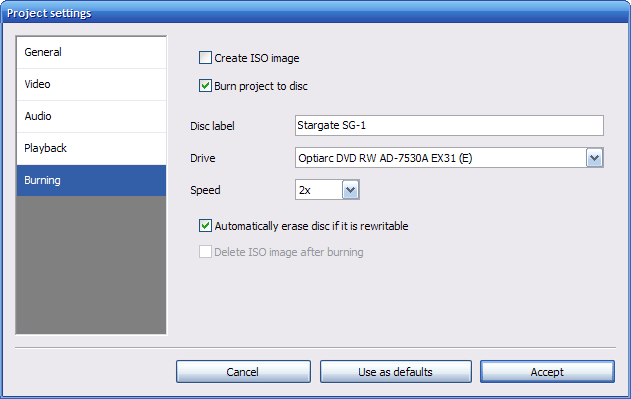
To enable this, check the Burn project to disc option under Project Settings, and the Burning tab.Disc label can be set to the label of the disc as displayed by your computer, but is not used by DVD players. Be sure to select the right drive to burn to, and to insert an empty disc in it before starting the encoding.
If you would rather have just an ISO image of the DVD to burn at your own leisure, only check the Create ISO image option, and enter a disc label.
Step 6: Encoding
When you are all done creating your project, be sure to save it first. Then press the Create DVD button and the encoding process will start, providing you have enough free disc space. How long the encoding takes is very much dependant on the speed of your CPU, and the harddrive that the project's destination folder is on. It's best to let your PC do this during the night, or during a very long coffee break.
Add subtitles
To add subtitles to a title, all you have to do is edit the title, go to the Subtitles tab, and use the Add button to add subtitle files to the title. You can reorder them using the arrow buttons.
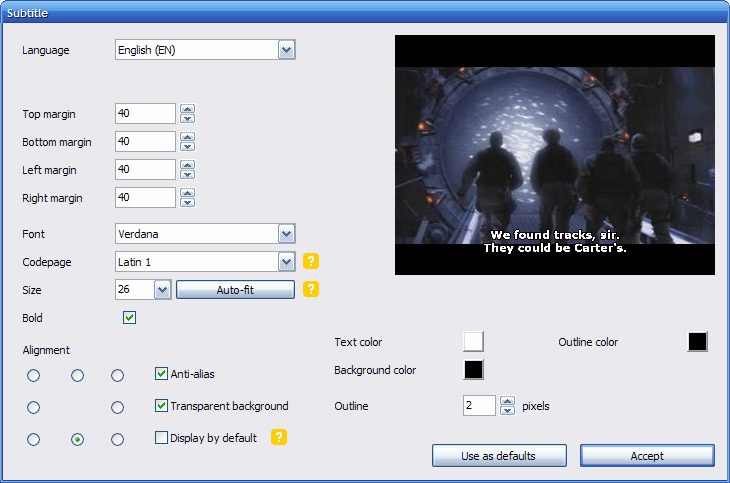
To edit the language, font, font size and positioning of a subtitle select it and press the Edit button. In the window that pops up you can change various properties of the subtitle. When you click the small preview you will see a larger approximation of how the subtitle will look.
The language setting is simply the language of the subtitle in question. The character set option is used to indicate in what way the subtitle file is encoded, so that the right characters can be drawn. For example if you have added a Chinese subtitle, you might have to set the character set to Chinese BIG5 or GB2312.
The Auto-fit button will adjust the subtitle's font size so that all subtitle lines will fit on screen. The display by default button will make sure that the current subtitle will be displayed automatically when the title containing it is played. If other subtitles have this set, only the first subtitle in the list will be displayed when the title starts.
Add audio tracks
A good example for when you want to add another audio track would be to add a second commentary track or some music.
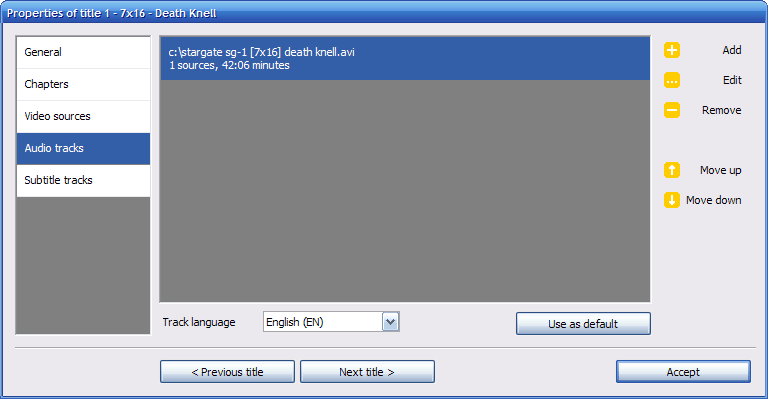
After you have added the title, edit it and go to the Audio tracks tab. There you can press the Add button, and then select the audio file or another video file that you will choose an audio track from. If you chose a video file or the file you chose has more than one audio track, you will be asked to choose which track to add.
Add a menu
If you have many titles in your DVD Flick project, you might want to consider adding a menu to your DVD so that you can select a title to play from a list with names and thumbnails.
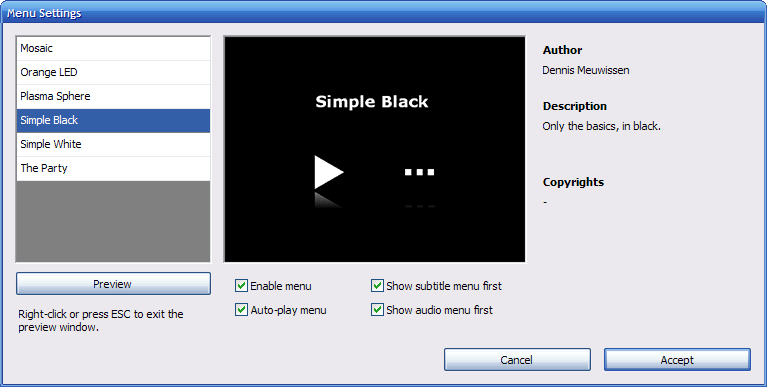
To add a menu, go to the Menu settings button. Here you can choose a template which will determine the appearance of the menu, as well as see it in action by clicking the Preview button. To exit the menu preview, either press ESC or right-click on the preview window. After you've chosen a template, be sure to enable the Enable menu checkbox so that the menu will be included on your disc.
You can also view menu pages that allow you to select an audio track or subtitle from the currently playing title. To access this menu while a title is playing, most DVD players have a Audio or Subtitle button on their remotes.